Step 1 Releasing the Waterproof Gasket
Remove the 2x pentelobe screws from the bottom of the phone.
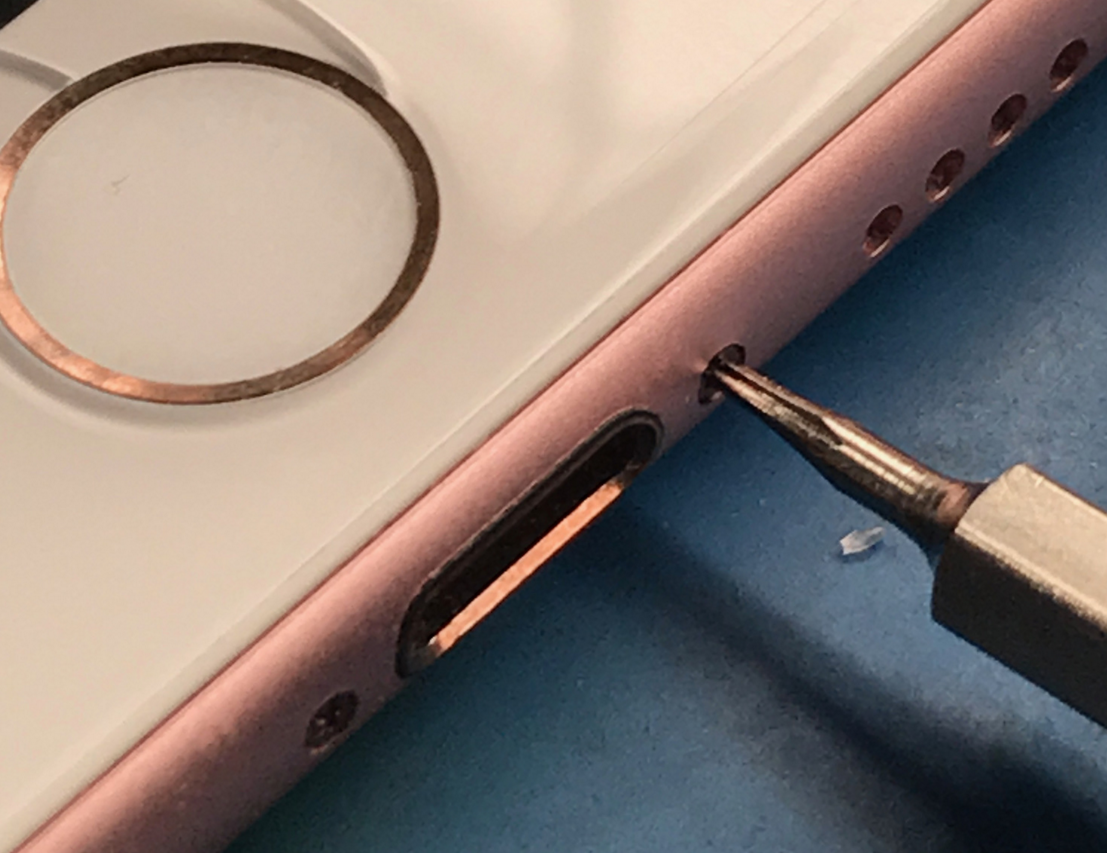
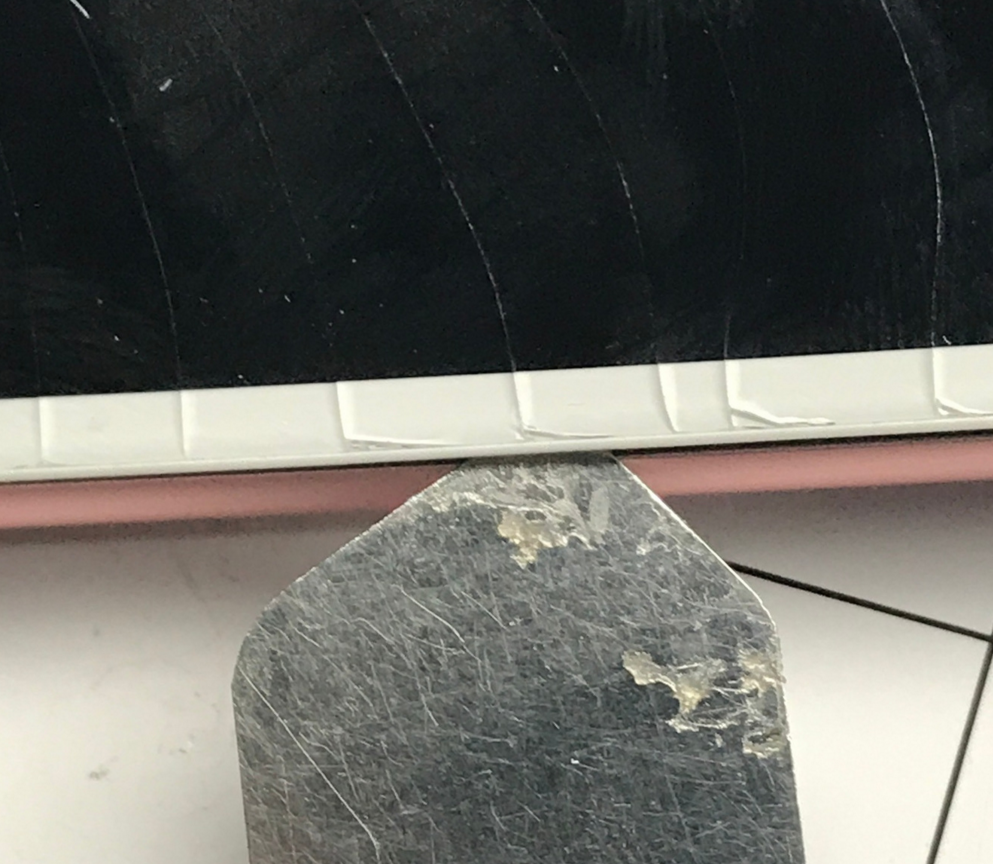
Gently work your iSesamo tool around the outer edges of the device. Be careful not to insert the iSesamo tool too deep into the body of the phone as you may damage internal components that you cannot see.
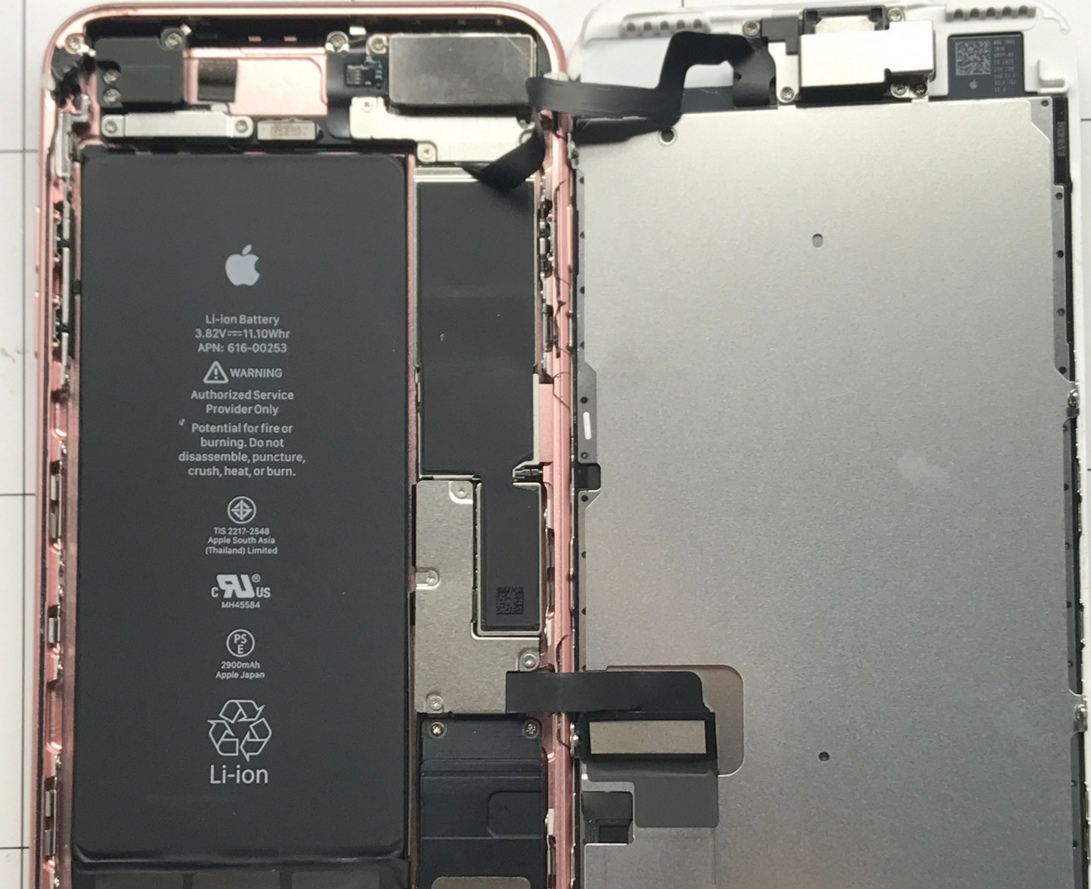
Step 3 Removing the FPC plates
Four screws hold the lower FPC plate in place. These are also #000 tri-tip screws.
Step 4 Disconnect the FPC's
Remove the LCD Assembly from the housing and prepare to disassembly the LCD Assembly and small parts.
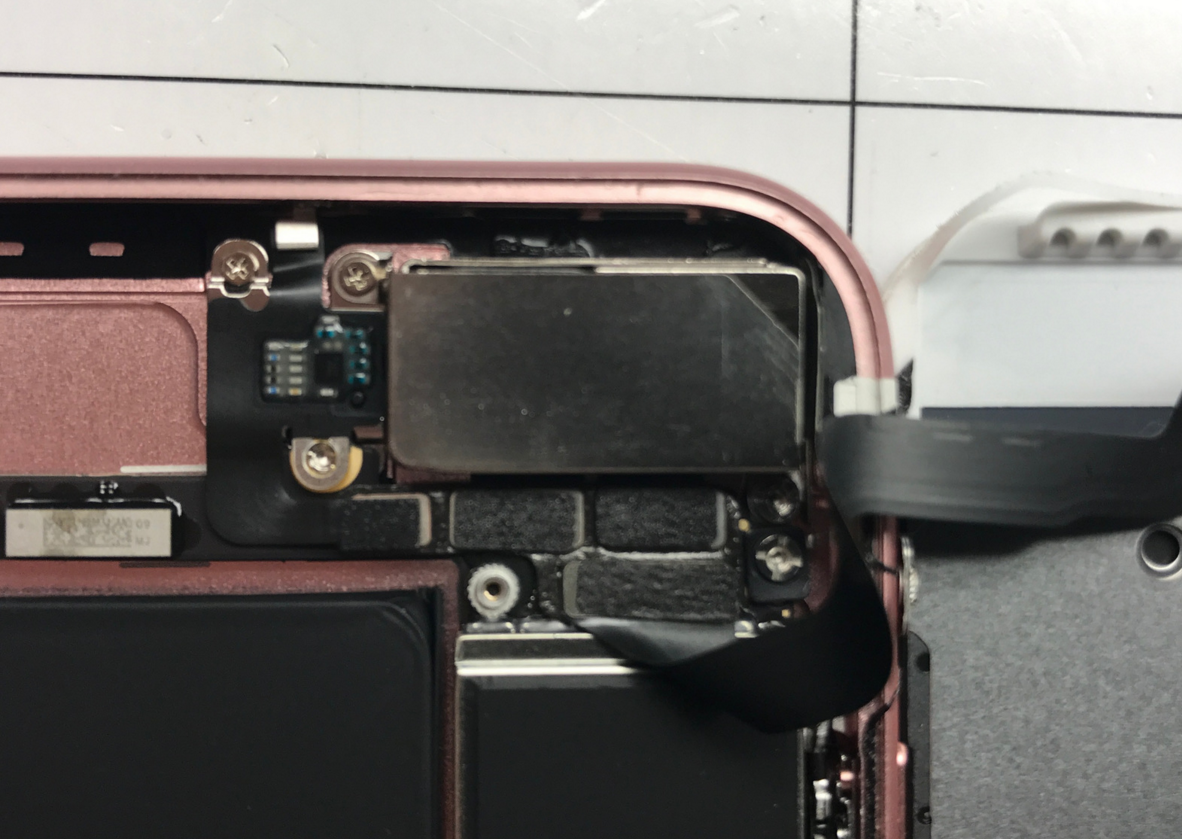
Step 5 Remove the earpiece speaker retaining plate
Remove the five screws holding the earpiece speaker retaining plate in place. These are #000 phillips head screws.
Step 6 Remove the earpiece speaker and FPC.
Now that the earpiece speaker retaining plate is removed the earpiece speaker should easily lift off the device.
Using the flat end of a nylon spudger gently pry the earpiece speaker FPC away from the assembly. This piece is held on by double sided adhesive but should easily come up with some gentle prying.
Step 7 Remove the home button backplate
Using your #000 tri-tip screwdriver remove the four screws holding the home button backplate in place.
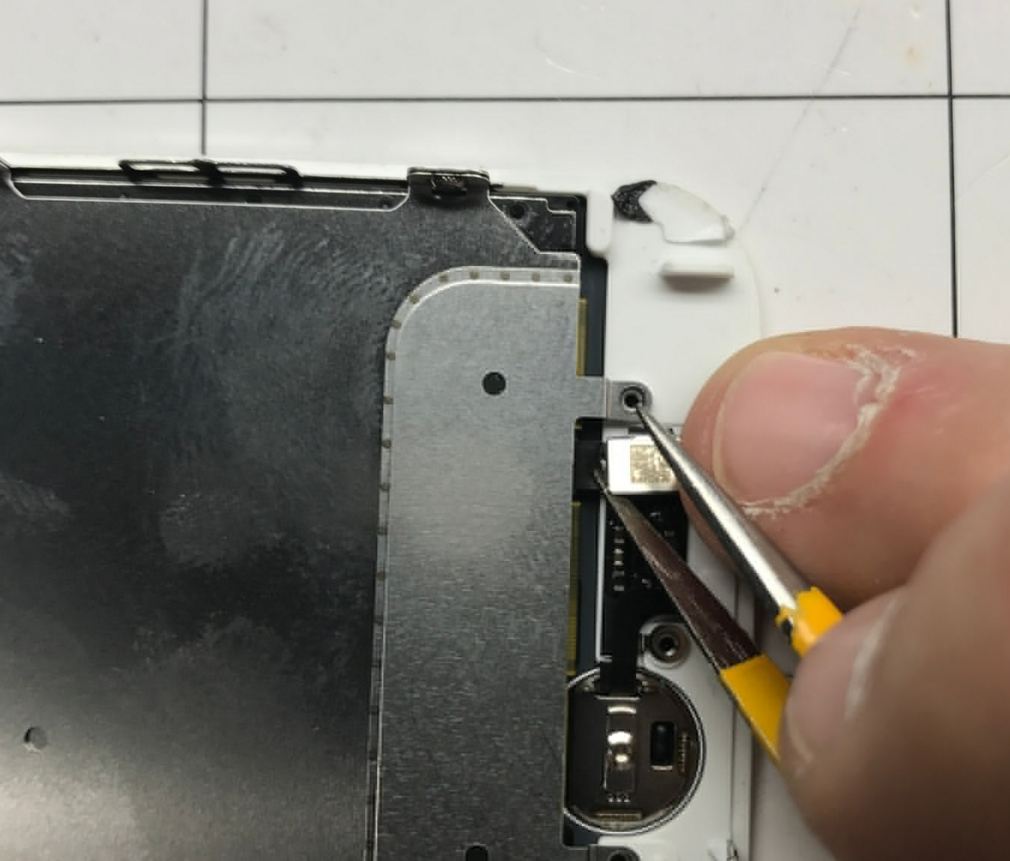
Step 8 Disconnect and remove the home button
Using your needle tip tweezers gently pry the home button connector and detach it from the home button flex.
The home button will not work if it is replaced with an aftermarket part as it is still serialized to the logic board. If you damage this you will have to seek service through apple to restore fingerprint capability. (This will probably result in device replacement.)
Step 9 Remove the LCD Back plate
Remove the five #000 Tri-tip screws and the one #000 Phillips screw that hold the LCD backplate in place.